I like to think we all have goals. Big goals; little goals. Daily goals; life goals.
Cooking goals.
I have this ’cooking bucket list’. It is, unfortunately, growing faster than I can keep up. I consider the things on this list a little bit more complex than the average food item; thus things like work and making real dinner interfere with spending a whole evening making one thing.
Recently, I found a day. I found a weekend day where I could pick something from that bucket list and tackle it.
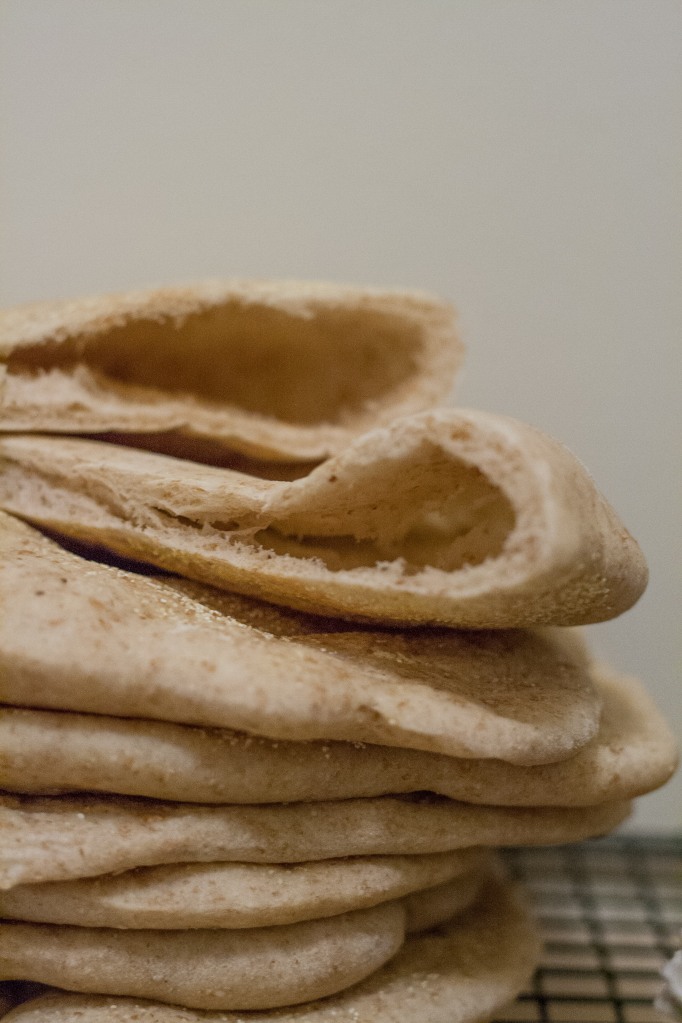
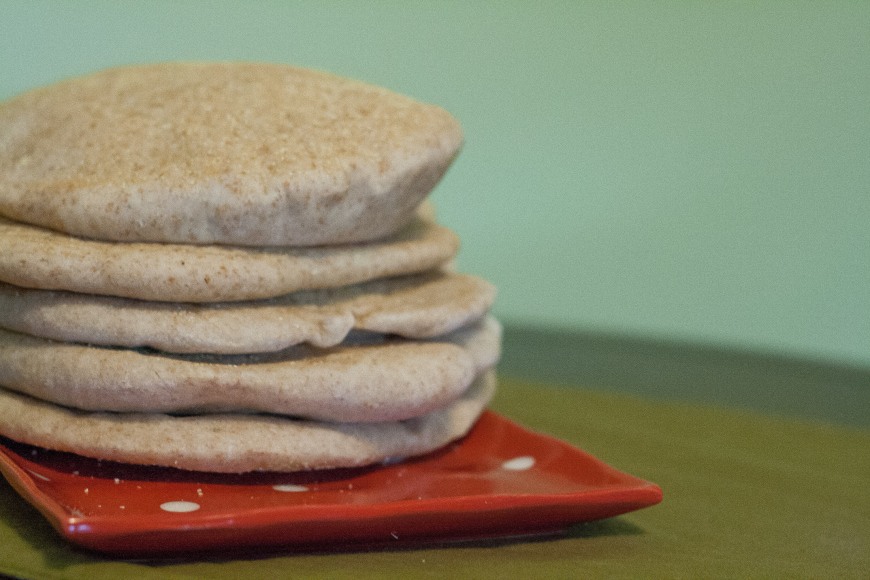
Hello, pitas.
This recipe surprised me. It was by no means tricky. It is not even labour intensive. In fact, I was tickled by how little active work was involved…and by how impressive the results were. These are infinitely better than the pocket pita bread we buy at the store. These are like pillows. However, If I am honest with myself I know I will continue to buy the ones at the store…most of the time.
That difference between ‘all the time’ and ‘most of the time’ is good enough for me to feel like I have achieved a goal!
What are your goals?
Ingredients – I’ve listed the original recipe with my ‘adaptations’ in brackets
2 ¼ teaspoon instant yeast (we have bread machine yeast)
1 tablespoon honey (or any sugar, really)
1 ¼ cups warm water (between the temperatures of 105F to 115F), divided
1 ½ cups bread flour (we used all-purpose), divided
1 ½ cups whole wheat flour, divided
¼ cup olive oil
1 teaspoon salt
Cornmeal, for sprinkling
Instructions
- In a large bowl, combine yeast, sugar and ½ cup water. Stir gently. The temperature of the water is important because it is the optimal temperature for the yeast to ‘do its business’.
- Add ¼ cup of bread flour and ¼ whole wheat flour and whisk until smooth.
- Cover the bowl with plastic wrap and set aside until doubled. It will appear very bubbly and awesome after about 45 minutes.
- Remove the plastic wrap and add the remaining ¾ cup warm water, 1 ¼ cup bread and 1 ¼ cup whole wheat flour, olive oil, and salt. I used my hands to mix and kneaded for about 8 minutes. If you are lucky enough to have a stand mixer, use the dough hook for about the same amount of time. The dough will be smooth and elastic. Add more flour as necessary…I probably put another ½ cup or so in.
- After kneading, place the dough ball in an oiled bowl, cover and let it rise until doubled (another hour or so)
- After the dough has risen, preheat the oven to 500F, and place a baking stone in the oven at the lowest rack. You can use the bottom of a baking sheet if you don’t have a stone, or apparently right on the oven racks.
- Time to shape them. I used a kitchen scale to ensure they were all about the same size. I ended up with 8 100g dough balls. Stretch them out (by hand or with a rolling pin) to about a 7 inch diameter.
- Place your pita rounds on a surface lightly sprinkled with cornmeal. Cover them loosely with clean towels and let them rise for about 30 minutes. They will appear slightly puffed.
- Time to cook. Transfer 3-4 rounds to your baking stone (depending on how large it is). Bake for 2 minutes. The pitas will puff up and turn slightly golden. Flip and bake for 1 minute more. Transfer to a cooling rack. Repeat.
- A few of ours didn’t puff up. I couldn’t tell you why, but I think it’s because I didn’t let our oven get back to a high enough temperature after opening and closing the door.
Source: Annie’s Eats

